3.5.1. Install the Kotlin plug-in #
Android Studio will be installed built-in starting with version 3.0 (preview)
Kotlin
plug-in.
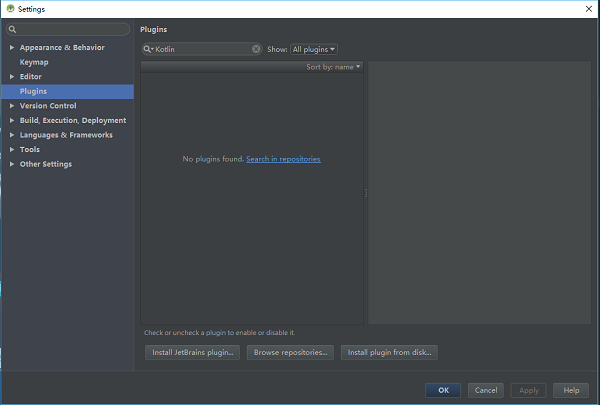
Open
Settings
(Mac is Preferences) panel, found on the right
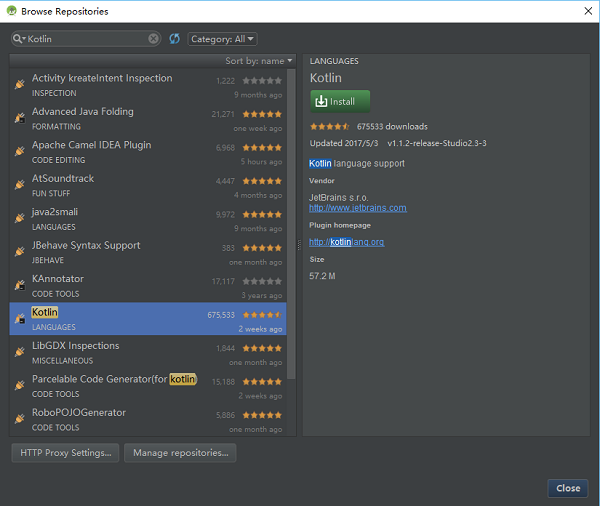
Plugins
option (command+ under the shortcut key Ctrl+, Mac), enter “Kotlin” in the search box, click Search in repositories (search in warehouse), and then install it. After the installation is completed, you need to restart
Android
Studio
.
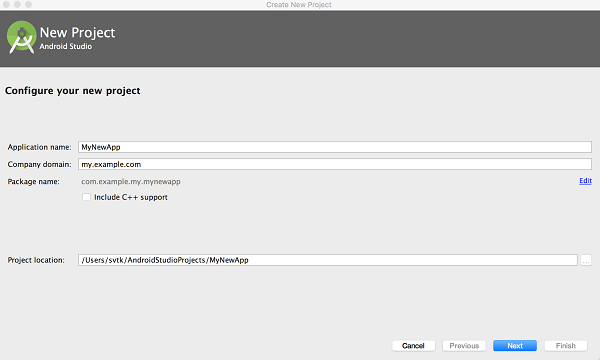
3.5.2. Create a new project #
Choice
      Start
      a
      new
      Android
      Studio
      project
or File|New project, mostoptions have default values, you only need to press the”enter” key a fewtimes.

Android Studio 3.0 provides the option to enable Kotlin support in the current dialog box. When checked, you can skip the “configure Kotlin Project (Configuring Kotlin in the project)” step.
Select the Android version:
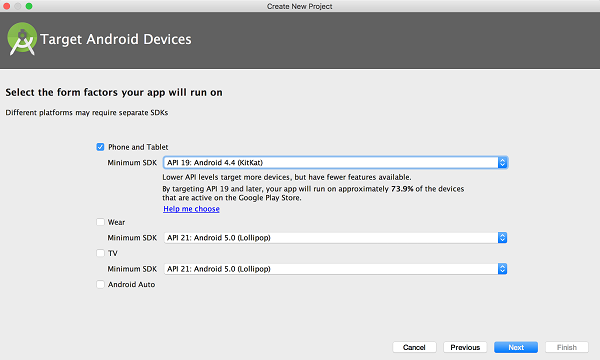
Select what you need to create
Activity
style:
Name the
Activity
:

In Android Studio 3.0, you can choose to use the
Kotlin
create
activity
so the “convert Java code to Kotlin (Converting Java code to Kotlin)” step is not required.
In previous versions, Java was used to create the
activity
and then convert using the automatic conversion tool.
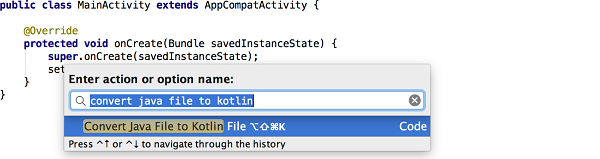
3.5.3. Convert Java code to Kotlin #
Reopen Android Studio, create a new Android project, and add a default MainActivity
Open
MainActivity.java
file, call up Code|Convert Java File to Kotlin File through the menu bar:
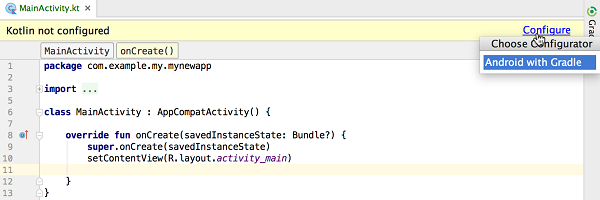
After the conversion is complete, you can see the use of the
Kotlin
written by
activity
.

3.5.4. Configure Kotlin in the project #
When you start editing this file, Android Studio will prompt you that the current project has not been configured
Kotlin
follow the prompts to complete the operation, or you can select
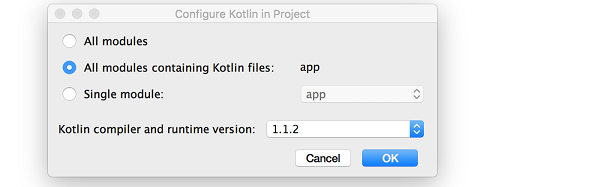
Tools
When selecting the configuration, there is the following dialog box to select the latest installed version.
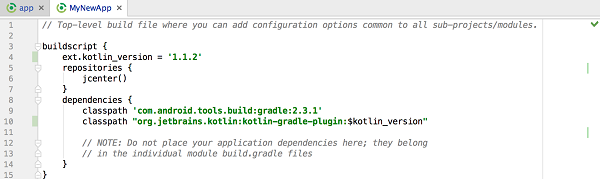
After the configuration
Kotlin
is complete, the application’s
build.gradle
file will be updated. You can see the addition of applyplugin: ‘kotlin-android’ and its dependencies.

To synchronize the project, click “Sync Now” in the prompt box or use the
      Sync
      Project
      with
      Gradle
      Files
orders.